Bread baking in the oven fills the air with its rich aroma. I always find it challenging to allow bread to cool after coming out of the oven. I want to just rip off a big piece to savor the warmth and goodness of freshly baked bread. This is comfort food for sure that hits the spot and warms the soul!
Bread is too good not to share, so I always make extra to package up for family and friends. It makes a great gift too! Just imagine a beautiful, homemade loaf of Crusty Artisan Bread nestled snugly in a gift basket with your favorite wine, a corkscrew, and some herb butter. What a wonderful gift to give straight from the heart! In case anyone is interested, my favorite wine is Pinot Noir (hint, hint - wink, wink)

This is a basic recipe with only 4 ingredients! I love that! Scroll down past my photo tutorial to access the ingredients and directions all in one place, if you prefer. Thanks!
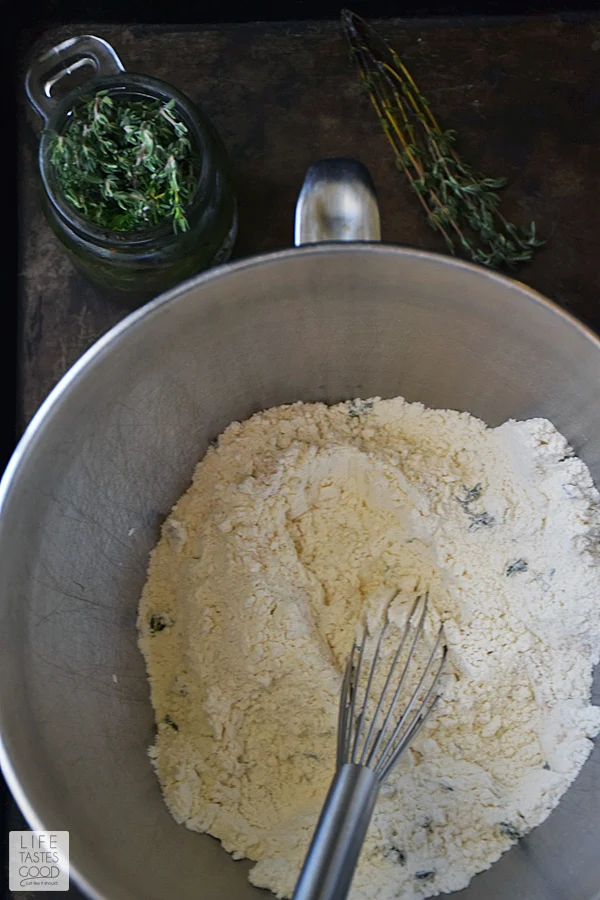
Combine 3 cups all-purpose flour with 1 teaspoon active dry yeast and mix well. Sprinkle in 2 teaspoons kosher salt, and I also added in 2 teaspoons of fresh thyme leaves. You can use your favorite herb or leave the herbs out all together. It's completely up to you!
TIP: When measuring the flour, be sure to spoon the flour into the measuring cup until a little over full and then level the top with a flat edge, such as a butter knife. This will ensure more accurate measuring and a better end result.
Heat 1 1/3 cups water in a microwave safe measuring cup to 110°F-115°F. Use an instant read thermometer to ensure an accurate temperature. If the water is too cold the yeast won't activate. Too hot and the heat will kill the yeast. Neither scenario is good for the end result when baking bread, so it's worth the extra minute to check the temperature.
Add the water to the flour mixture and mix with a wooden spoon to combine. The dough will be sticky. Cover the bowl with plastic wrap and leave it on the counter, out of the way, at room temperature for 18-24 hours. That's it! Not too hard, right? Now you wait and do your best not to disturb it. Make sure it's put out of the way so it doesn't have to be moved around while it's doing its thang.
When ready to prepare the dough for the oven, you'll notice the dough will have risen and look bubbly. flour a work surface generously. To ease in cleanup, I line a baking sheet with parchment paper and flour the parchment generously. Turn the dough out onto the parchment paper and sprinkle a thin layer of flour on the dough as well...
Next, lift up on the parchment to make sure the dough is not sticking to it on all sides. If it is sticky, add more flour under it.
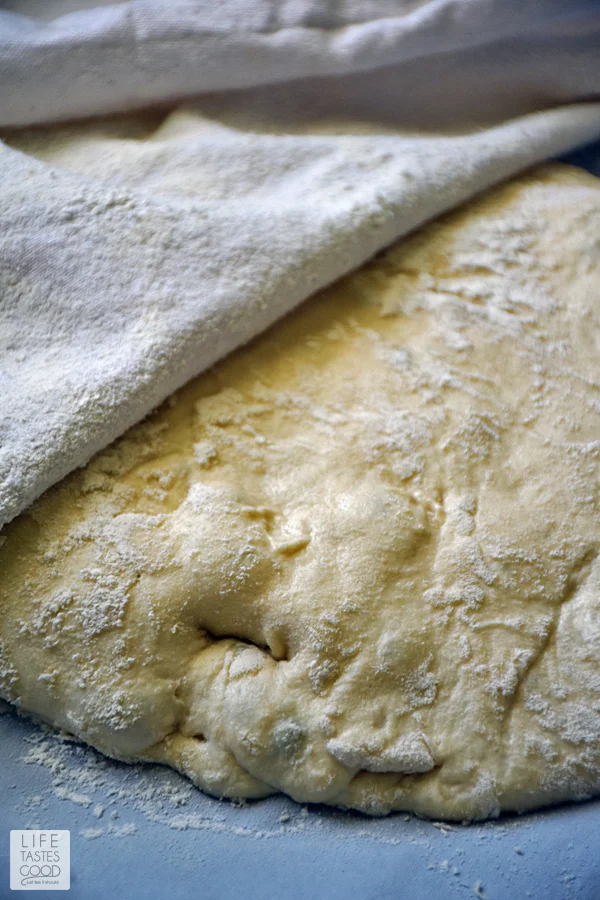
Fold the dough in half, sprinkle a thin layer of flour on top, and cover it with a clean, soft kitchen towel to let it rise for 2-3 hours.
TIP: A smooth kitchen towel works best. The terry cloth type is not recommended.
After rising for 2 hours, check to make sure the dough is ready to go in the oven by giving the dough a gentle poke with your finger to make an indent. If the indent bounces back, then it needs more time to rise. If the indent stays put, then it's time to bake! My rising time was 2 1/2 hours, but that will vary depending on the environment.
Preheat the oven to 450°F, and place a Dutch Oven, with lid, into the oven to preheat. You can also use a deep casserole dish with a lid, just be sure you heat it while the oven is preheating. When the oven is preheated, remove the hot pot, being careful not to burn yourself! Remove the lid and gently turn the dough into the hot, ungreased pot. The parchment paper makes it easy to pick up the dough and empty it into the pot or baking dish you are using.
Put the lid on the pot and bake in the oven for 30 minutes.
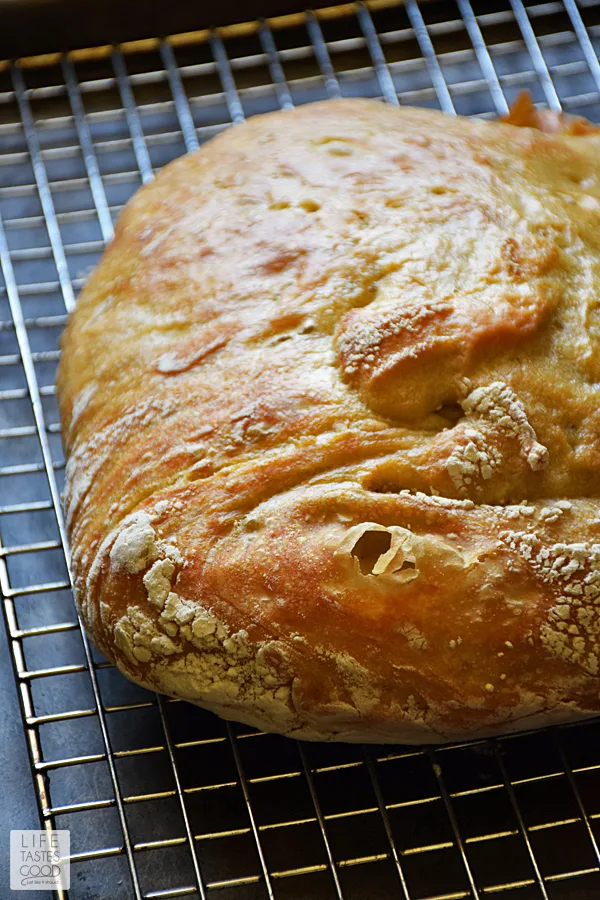
After 30 minutes, remove the lid and bake until the crust is golden brown, about 20 minutes longer. As oven temperatures vary, be sure to keep an eye on it and remove it from the oven when the crust is golden to your liking.
Share this bread with your family and friends this holiday season and don't forget to pair with your favorite wine. Makes a wonderful hostess gift!
Life Tastes Good just like it should with FREE recipes delivered to your inbox
Click here to subscribe
Crusty Artisan Style Bread
Published 11/22/2015

Ingredients
- 3 cups all-purpose flour
- 1 teaspoon active dry yeast
- 2 teaspoons kosher salt
- 2 teaspoons fresh thyme leaves
- 1 1/3 cups water
Instructions
- Combine 3 cups all-purpose flour with 1 teaspoon active dry yeast and mix well. Sprinkle in 2 teaspoons kosher salt, and I also added in 2 teaspoons of fresh thyme leaves. You can use your favorite herb or leave the herbs out all together. It's completely up to you! TIP: When measuring the flour, be sure to spoon the flour into the measuring cup until a little over full and then level the top with a flat edge, such as a butter knife. This will ensure more accurate measuring and a better end result.
- Heat 1 1/3 cups water in a microwave safe dish to 110°F-115°F. Use an instant read thermometer to ensure an accurate temperature. If the water is too cold the yeast won't activate. Too hot and the heat will kill the yeast. Neither scenario is good for the end result when baking bread, so it's worth the extra minute to check the temperature.
- Add the water to the flour mixture and mix with a wooden spoon to combine. The dough will be sticky. Cover the bowl with plastic wrap and leave it on the counter, out of the way, at room temperature for 18-24 hours.
- When ready to prepare the dough for the oven, you'll notice the dough will have risen and looks bubbly. Flour a work surface generously with flour. To ease in cleanup, I line a baking sheet with parchment paper and flour the parchment generously. Turn the dough out onto the parchment paper and sprinkle a thin layer of flour on the dough as well. Lift up on the parchment to make sure the dough is not sticking to it on all sides. If it is sticky, add more flour under the dough.
- Fold the dough in half, sprinkle a thin layer of flour on top, and cover it with a clean, soft kitchen towel to let it rise for 2-3 hours. TIP: A smooth kitchen towel works best. The terry cloth type is not recommended.
- After rising for 2 hours, check to make sure the dough is ready to go in the oven by giving the dough a gentle poke with your finger to make an indent. If the indent bounces back, then it needs more time to rise. If the indent stays put, then it's time to bake! My rising time was 2 1/2 hours, but that will vary depending on the environment.
- Preheat the oven to 450°F, and place a Dutch oven, with lid, into the oven to preheat. You can also use a deep casserole dish with a lid, just be sure you heat it while the oven is preheating. When the oven is preheated, remove the hot pot, being careful not to burn yourself! Remove the lid and gently turn the dough into the hot, ungreased pot. The parchment paper makes it easy to pick up the dough and empty it into the pot or baking dish you are using. Put the lid on the pot and bake in the oven for 30 minutes.
- After 30 minutes, remove the lid and bake until the crust is golden brown, about 20 minutes longer. As oven temperatures vary, be sure to keep an eye on it and remove it from the oven when the crust is golden to your liking.
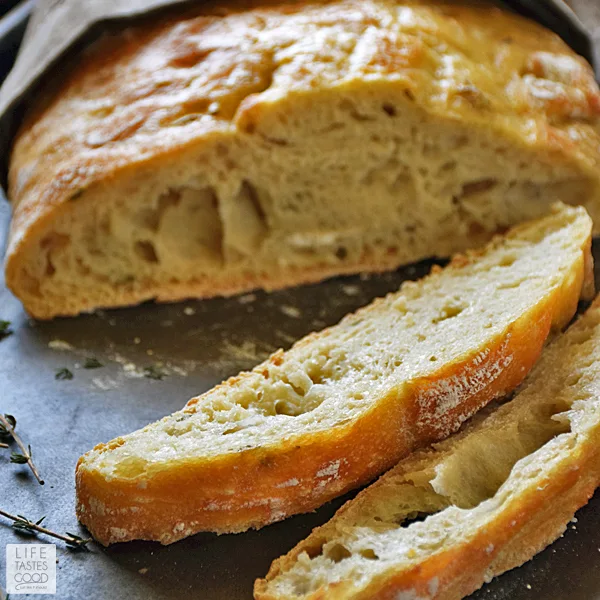
- Remove to a wire rack and allow to cool to room temperature before slicing. Enjoy!
Prep Time: 15 mins.
Total time: 65 mins.
NOTE: Allow additional 18-24 hours for the bread to ferment and another 2-3 hours for rising time.
Tags: Crusty Artisan Style Bread, Homemade, Bread Baking, Gift, Thanksgiving, Holiday, No Knead, Recipe, Gift Basket, Sourdough


That is a completely divine loaf of bread. Stunning.
ReplyDeleteFabulous-looking bread, I can almost smell it from here. Just beautiful. Pinned for future inspiration
ReplyDeleteAren't no-knead recipes the best??? This fabulous loaf would be perfect with so many meals!! Such a treat to have homemade bread for the holidays!
ReplyDeleteEvery meal needs a good crusty bread and I love that it's no knead!
ReplyDeleteIf there is one thing I miss since going gluten free, it's sourdough. I may have to make this for my hubby. He will love it and I will love smelling it while it bakes!
ReplyDeleteI love making no knead bread! Looks gorgeous!
ReplyDeleteA great simple bread recipe! Perfect for Thanksgiving!
ReplyDeleteWhat a fabulous looking bread. Perfect for soup
ReplyDeleteI really am powerless before a freshly baked loaf of bread. There's nothing like it!
ReplyDeleteThis is one of my favorite breads to make!
ReplyDeleteWhat a gorgeous simple loaf! There's nothing like fresh baked bread!
ReplyDeleteFresh bread is the best!!
ReplyDelete